Centos 7 linux系统搭建jupyter notebook服务
1.下载安装Anaconda
1.1下载Anaconda
官网:https://www.anaconda.com/download

清华源:https://mirrors.tuna.tsinghua.edu.cn/anaconda/archive/
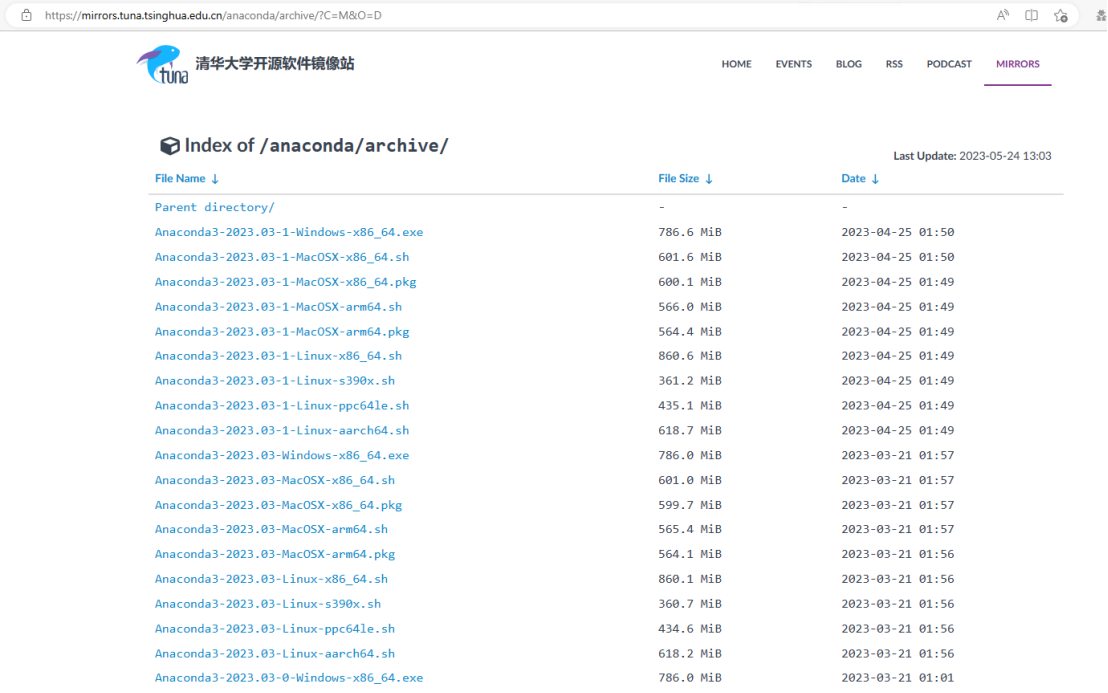
我这里选的是Anaconda3-2023.03-0-Linux-x86_64.sh用wget进行下载
wget https://mirrors.tuna.tsinghua.edu.cn/anaconda/archive/Anaconda3-2023.03-0-Linux-x86_64.sh

1.2安装Anaconda
赋安装脚本可执行权限
chmod 777 Anaconda3-2023.03-0-Linux-x86_64.sh

./Anaconda3-2023.03-0-Linux-x86_64.sh
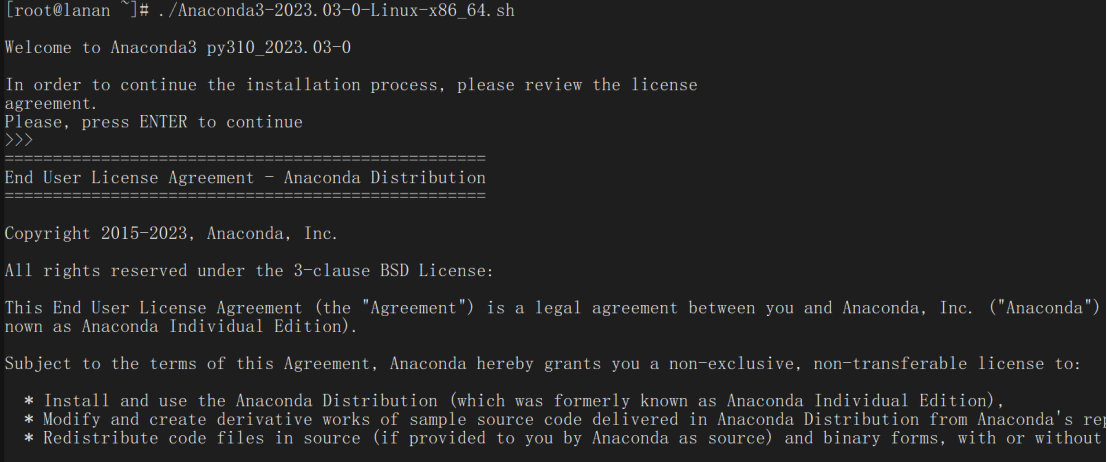
这里是协议内容,一直空格到底部,然后输入yes —> 回车

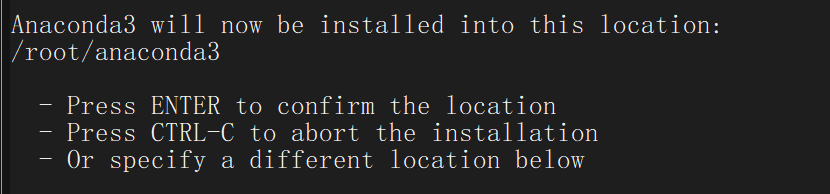
这里是anaconda的安装目录,直接回车的话就安装在/root/anaconda3中,等待安装结束

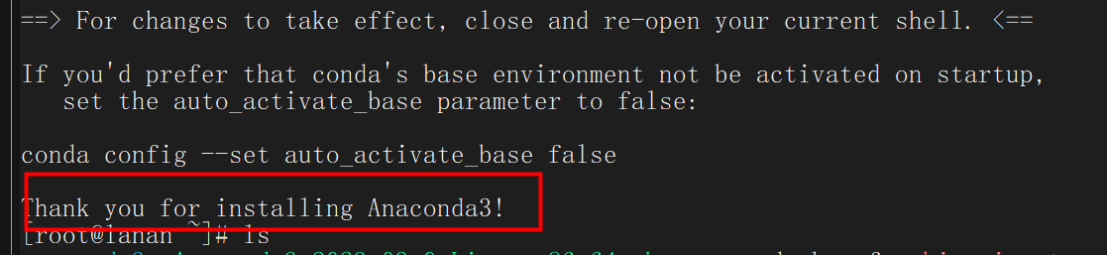
是否初始化安装

安装完成
2.配置环境变量
2.1查看Anconda安装地址
/root/anaconda3/bin
2.2进行配置
export PATH=/root/anaconda3/bin:$PATH
2.3验证结果
conda –version

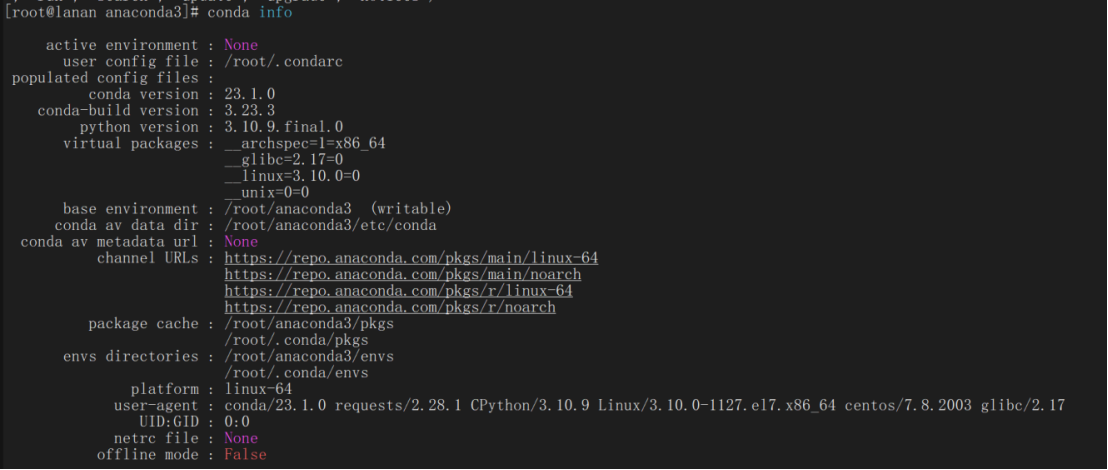
conda info
3.conda环境管理
3.1创建虚拟环境
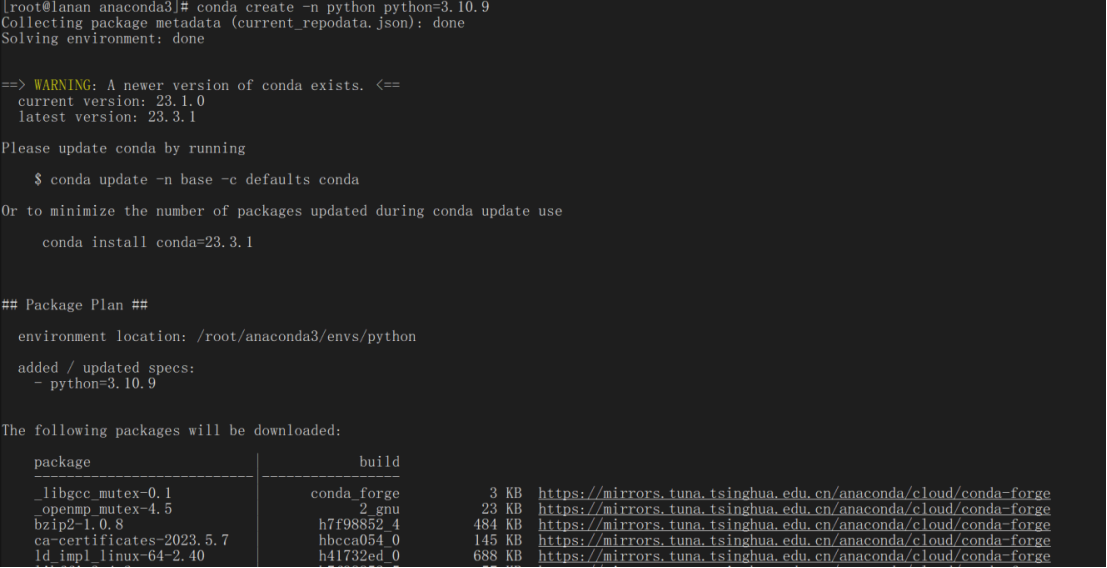
conda create -n python python=3.10.9
3.2激活环境
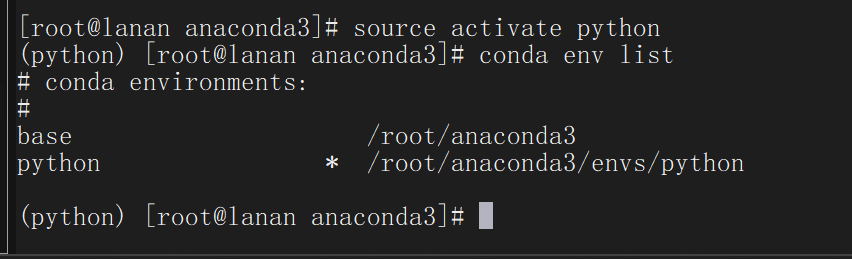
source activate python

3.3查看环境
conda env list
4.Jupyter配置
4.1生成配置文件
jupyter notebook –generate-config –allow-root

4.2生成登录密码
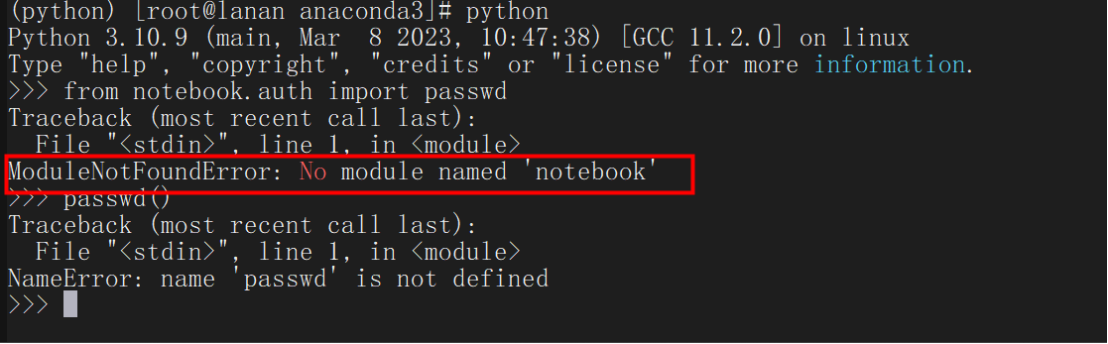
输入python进入python编辑模式,输入以下代码然后连续两次输入相同密码获得秘钥
from notebook.auth import passwd
passwd()
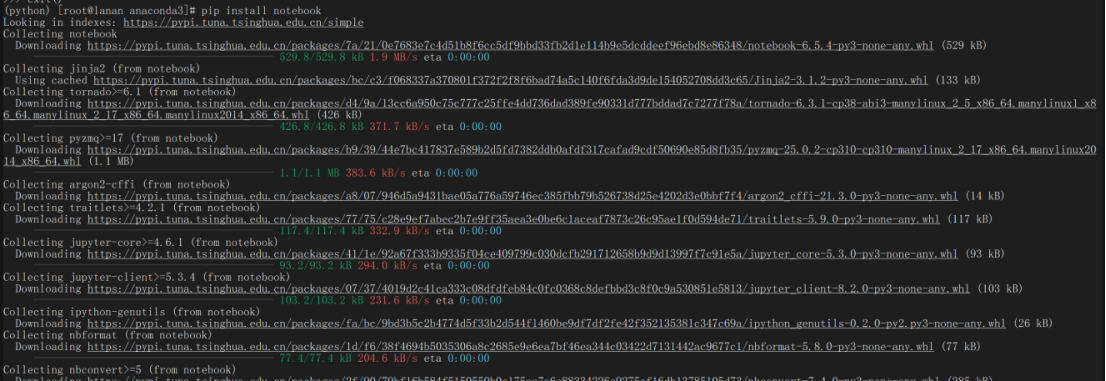
报错没有jupyter notebook这个模块,使用pip install notebook解决

4.3进行配置文件更改
输入命令vim ~/.jupyter/jupyter_notebook_config.py进入相应界面更改如下(注意:所有的都要删去前面的#,即取消注释,不然是没有办法生效的)
c.NotebookApp.ip=’‘ # 处可以设置为自己的ip地址c.NotebookApp.password = ‘sha:ce…’ # 刚才复制的那个密文’
c.NotebookApp.open_browser = False # 禁止自动打开浏览器
c.NotebookApp.port =8888 # 默认为8888,自己查看下占用没有
c.NotebookApp.notebook_dir = ‘/home/project’ # 默认打开的文件夹,可自己设定一下
5.启动Jupyter
5.1启动服务
jupyter notebook –allow-root

http://103.47.83.208:9999/为地址
6.将地址输入浏览器进行验证
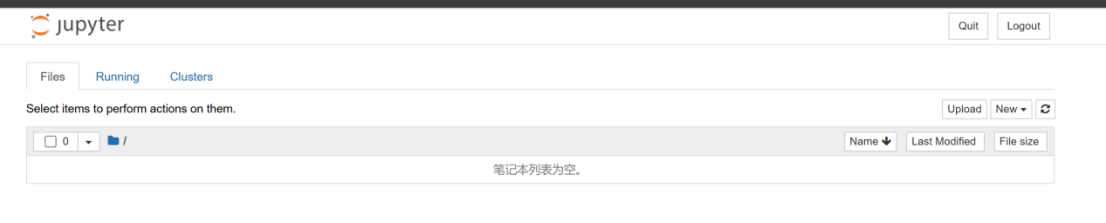

Good Luck to you !